

I’ve talked about how much I like the tilt-shift effect in the past. I am going to show you how you can make your very own in Photoshop! It is a pretty simple process to go through and if Photoshop isn’t your thing you can also create this effect in Instagram (so nothing is stopping you!).
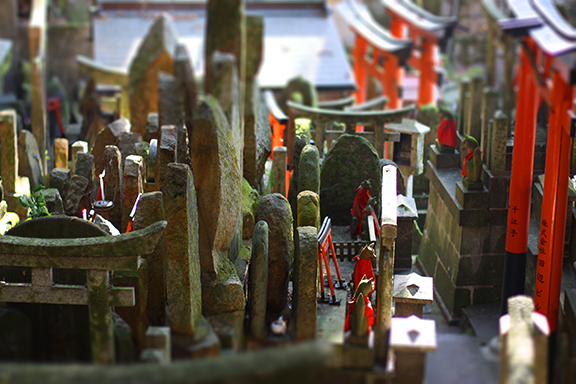
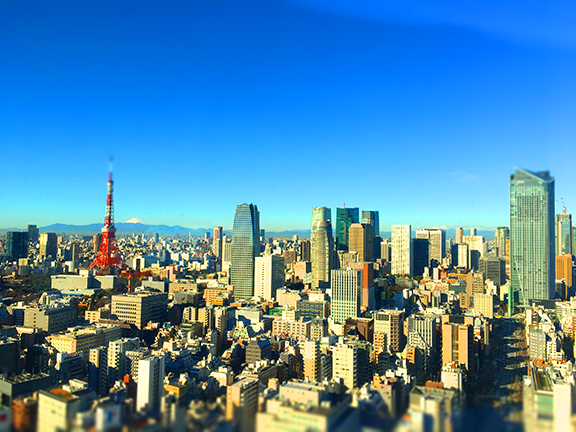
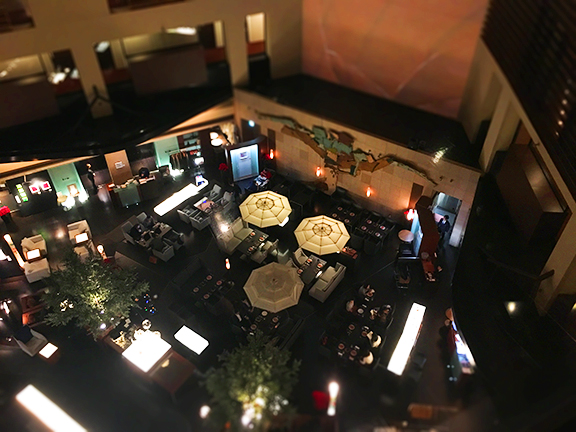
Tilt-shift is a creative and unique type of photography in which the camera is manipulated so that life sized things look miniature and adorable. Don’t let not having a tilt-shift lense stop you from achieving this look with your photos. The best photos for tilt-shift are shot from a high angle. That helps create the illusion of looking down at a miniature model.
I’m going to use some photos from my recent trip to Japan (still obsessed). Let’s get started *spoiler it is incredibly easy!
- Pick out the photo you want to use and open it up in Photoshop (this tutorial works in Photoshop CS6 or CC)
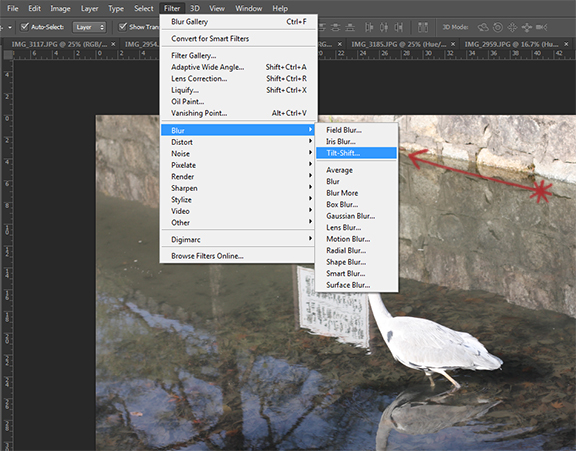
- Next go to Filter > Blur > Tilt-shift
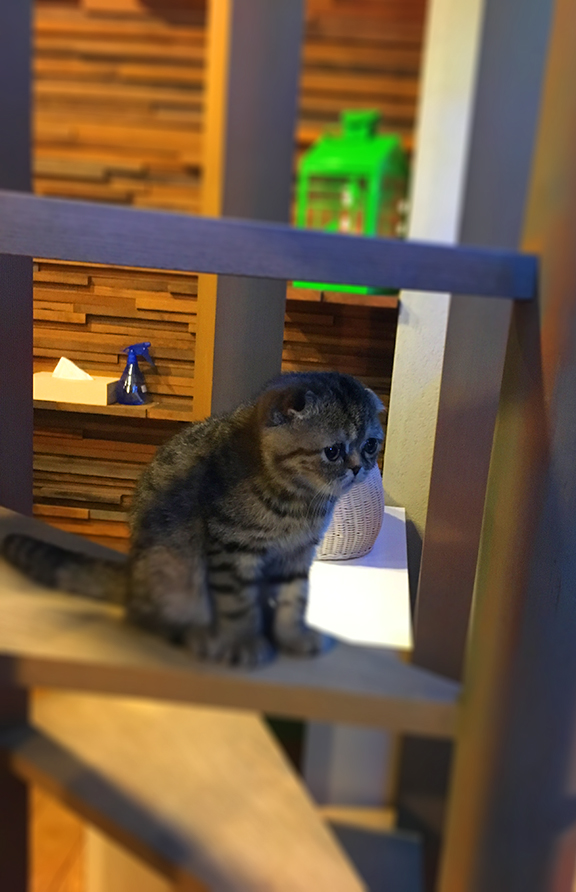
 3. This will put a blur effect on your photo that you can move and adjust. For my photo I want the bird to be in focus. Play around with this until you achieve the look you are going for. In general you want to have a point of interest in focus and the rest of the image out of focus. Make sure the Symmetric Distortion option is selected. Once you are happy with how it looks hit OK
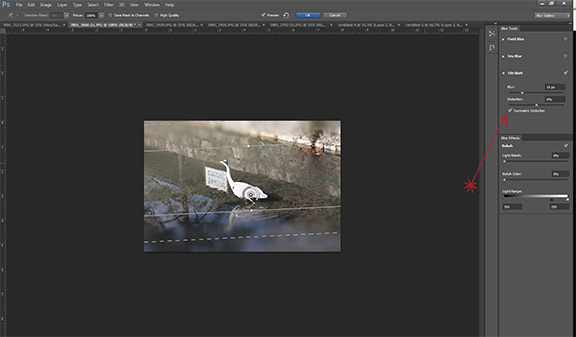 4. Lastly, a miniature wouldn’t be complete if the color doesn’t pop – adjust the color on your image by changing the color. Go to Adjustments > Hue/Saturation
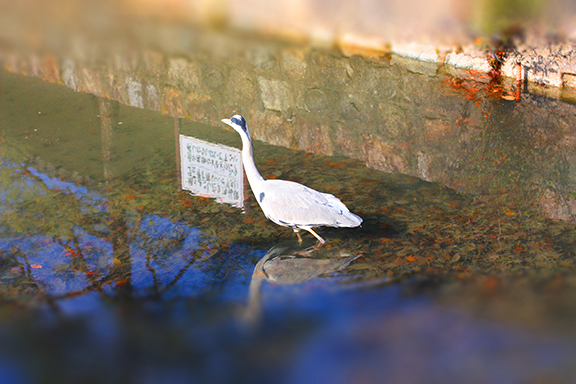
That’s it! So simple and fun! Go forth and tilt-shift everything.
Play around with this effect and show me some of your own creations.
Leave a Reply